Do you want to know how to create a silhouette from a photo? If yes, you’re in the right place!
Silhouettes give artistic effect to your photos, creating a mystery for the viewers. You can also use it to introduce drama into your work or compensate for poor lighting if you can’t retake the photos.
Here, we will break down the steps to transform your photos into silhouettes, including how to capture stunning silhouettes. Keep reading for more details:
How To Make A Silhouette From A Photo
Are you thinking of how to make that gift special or express your artistry? Whether you’re a photographer, online retailer or a creative, a silhouette is one of the unique ways to add some artistic feel to your photo.
You can create a silhouette if you have Adobe Photoshop and know how to use it. But if you can’t or don’t have the luxury of time, you can contact a professional photo editing agency like Designyep for help.
If you have the software, follow the tips below to create a silhouette out of your photo.
Step 1: Take a perfect silhouette photo:
We will discuss how to capture stunning silhouette photos. But for now, let’s focus on the project we’re creating.
Take a picture of the person or object you want to use. And use a solid background. You can choose a white background.
Let’s assume this is the picture I am using. The picture is ready to create the silhouette, and we’re set to move to the next phase.
Even if the photo isn’t too great, you can still use it. But if you can, ensure you have a nice picture.
Step 2: Open the Adobe program:
The program we’ll be using for this is Adobe Elements. You can use Silhouette Cameo, but that would be too demanding for a user with little experience.
Step 3: Open the photo in Photoshop:
Open the photo you want to work on in Adobe.
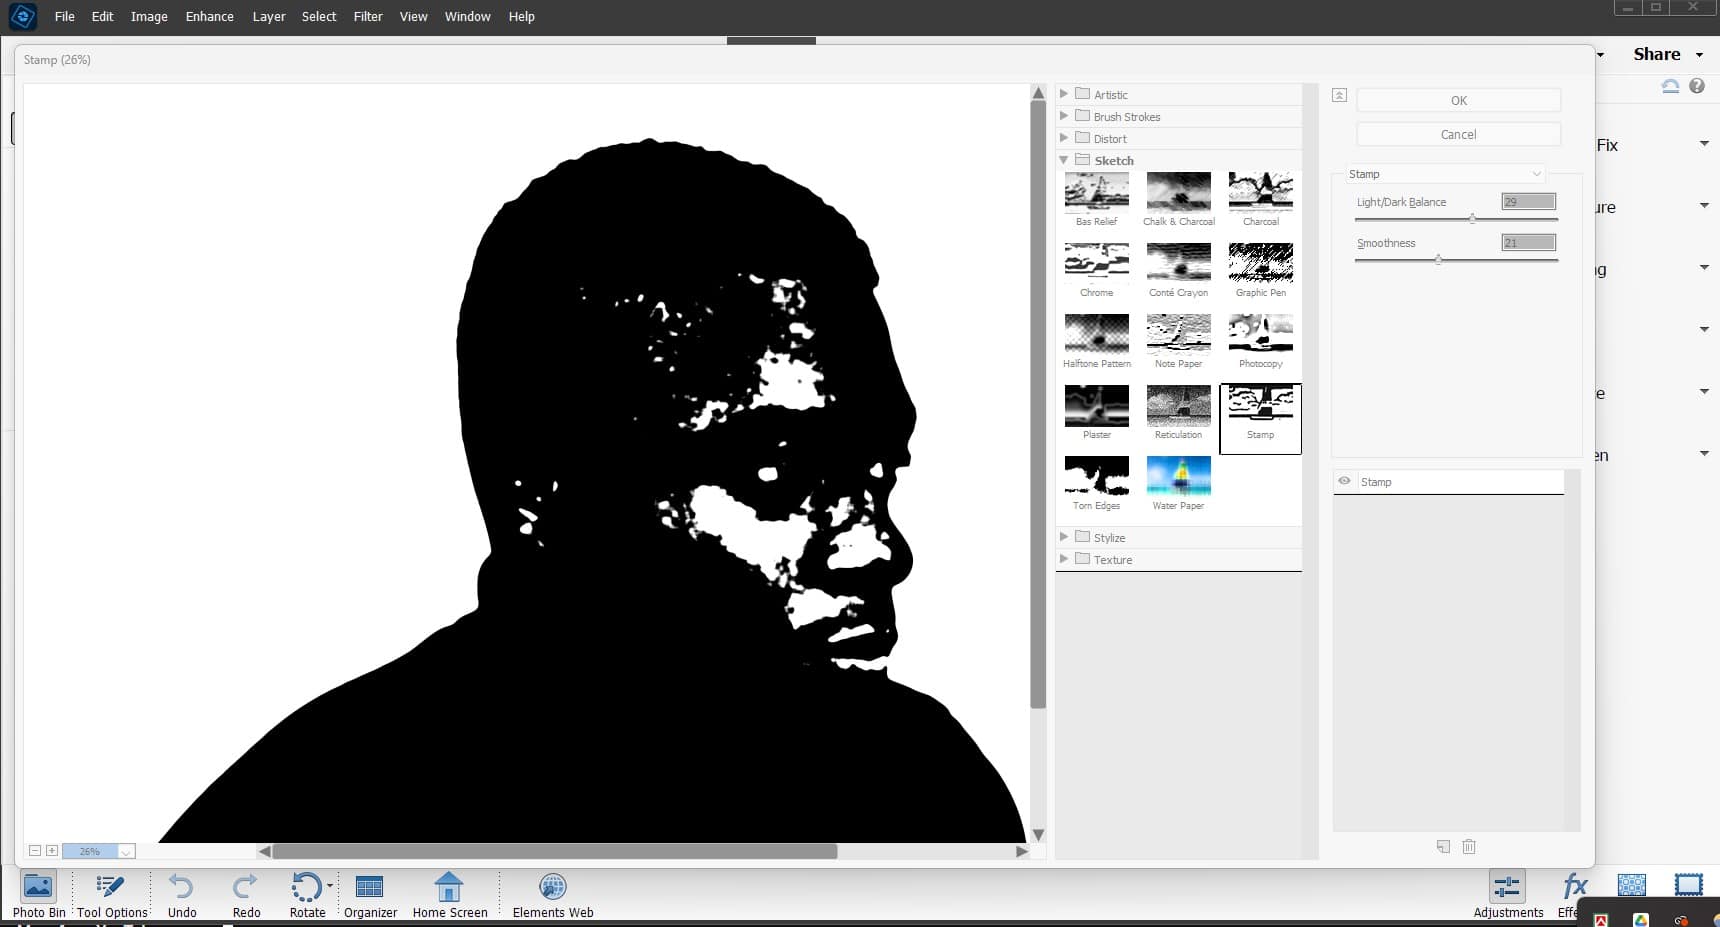
The next step is to get your color setting right. Ensure the bottom is “white” while the top is “black.”
Click on “Filter,” then “Sketch,” and finally, “Stamp.”
Your next move should be to play with the Adobe setting. Mind you, the image may not turn out the way you want at this point.
Even if there are white patches here and there, continue with the work you’re doing.
Step 3: Deploy the paintbrush tool:
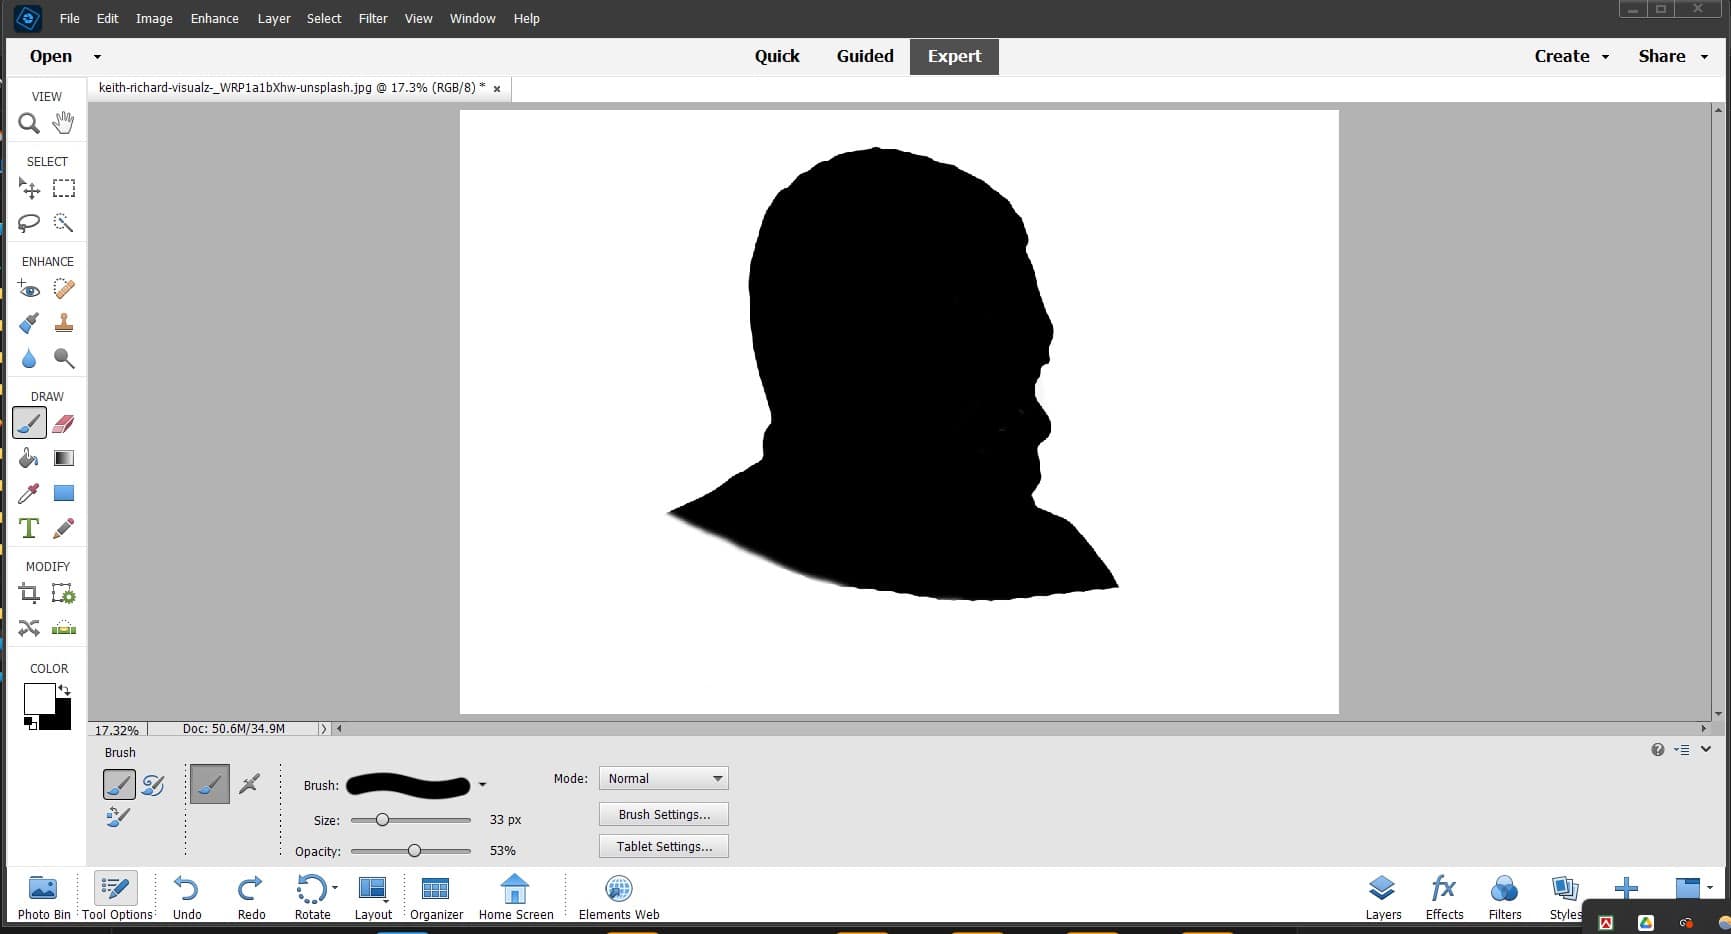
You have reached the stage where you have to deploy your paintbrush tool.
You’ll find the paintbrush tool on the left side of the Adobe software. Check the image below.
Use the paintbrush tool to paint any area of the photo that isn’t uniform. Use the “black” to paint the white patches on the photo. After that, use the white to make the photo’s edges smoother.
Make a line to cut the body off and create your silhouette. That is it. You have created a silhouette. It is that straightforward.
A Handy Tip: If you have a silhouette machine and wish to create a cut file, follow the steps below.
Note that we have created the silhouette. We want to take it a step forward.
Source: Amazon
The Silhouette Cameo is an incredible machine. It can cut many materials, such as paper, vinyl, cardstock, fabric, etc. It cuts them to a size of 10 feet long and 12 inches wide.
So, if you have this machine and wish to know how to cut your photo so it fits perfectly, follow the steps below.
Step 1: Get your silhouette software ready:
Open your Silhouette software.
Step 2: Open the image in the software:
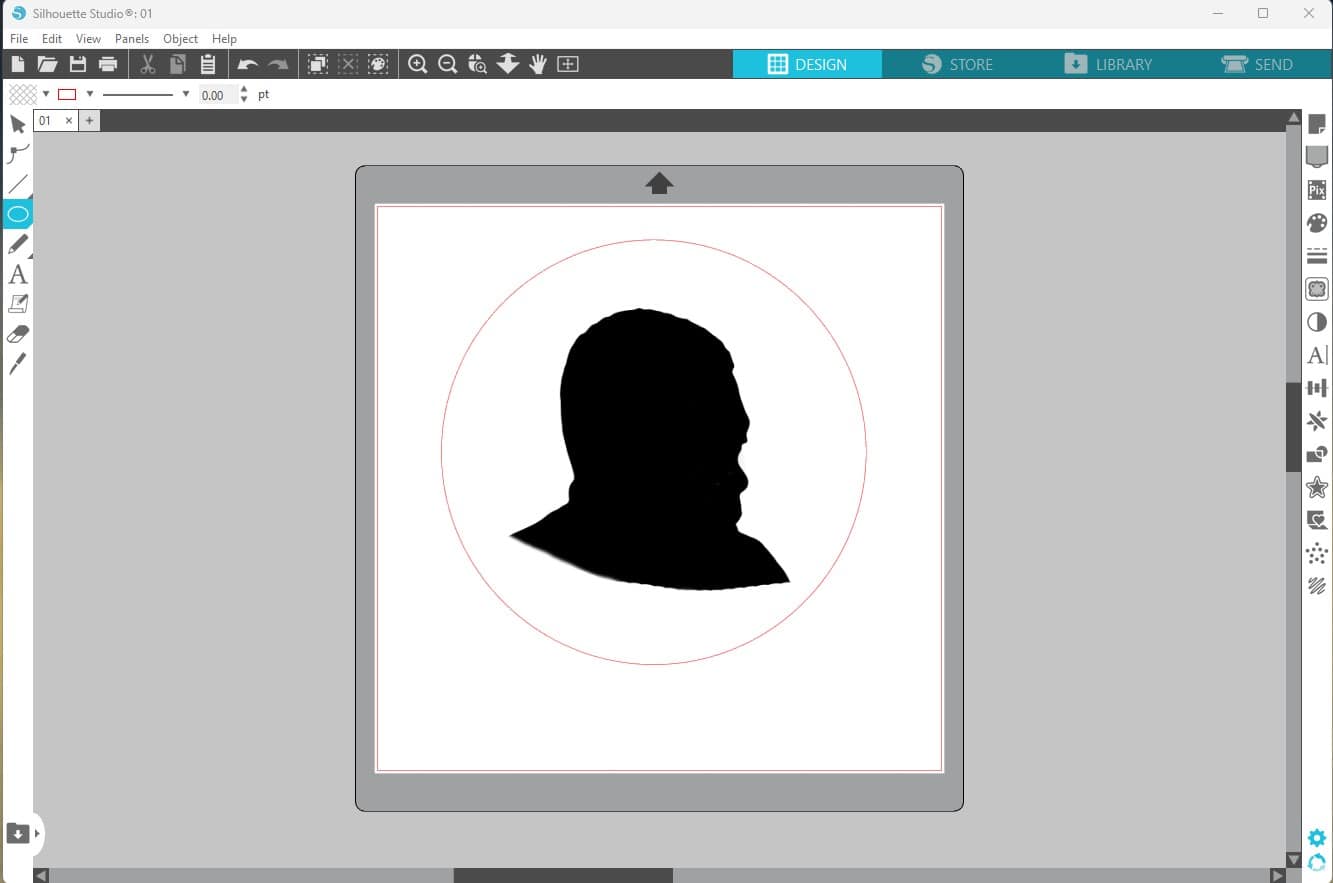
Next, open the image you have worked on in your Silhouette software.
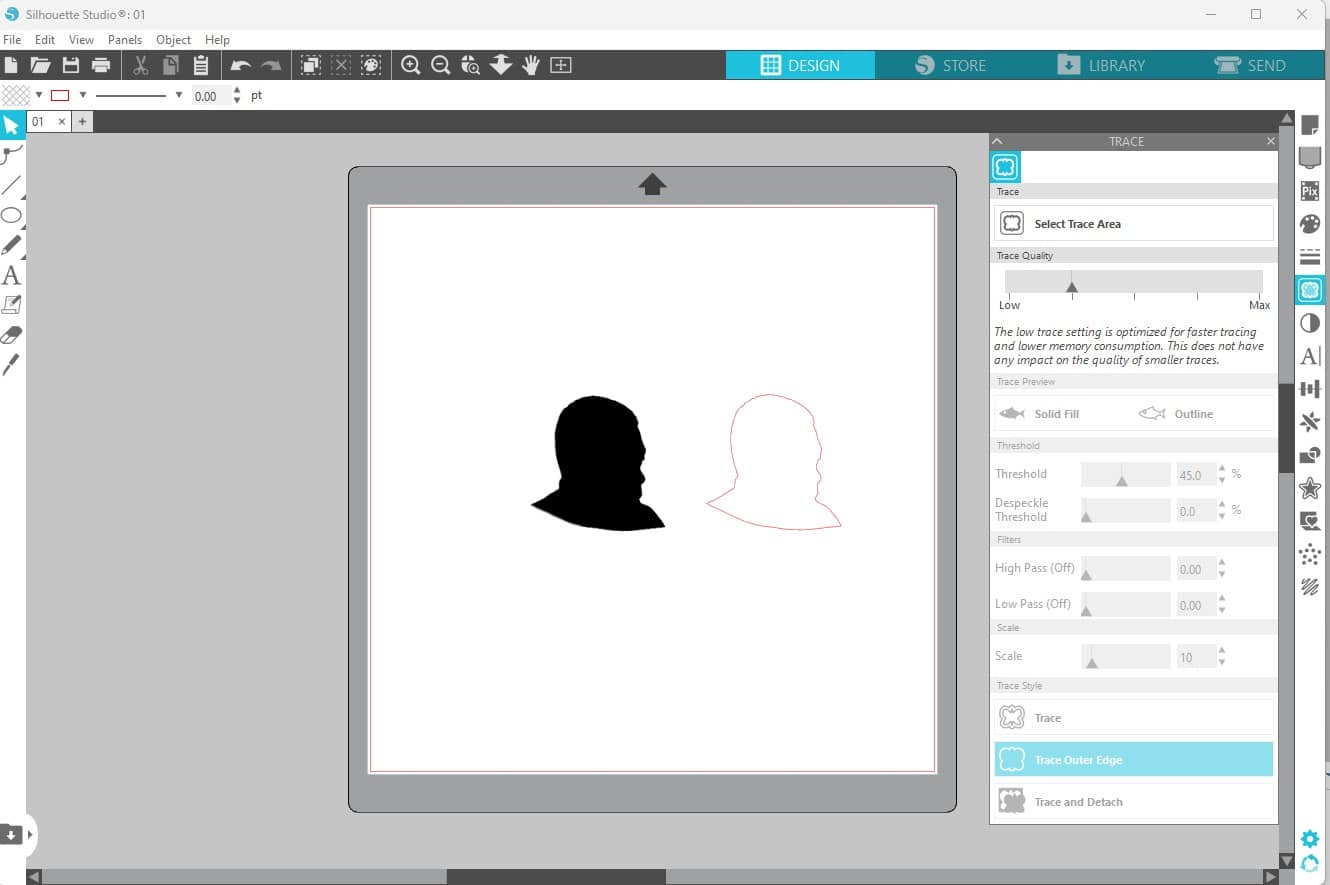
On the left-hand side of the software, hit the trace icon. You’ll find different options, but choose the most ideal for your project.
Step 3: Select “Trace Area”
The next important step you need to perform is to hit the “Trace Area” feature. You can see what we did in the image below:
Now, play around with the setting until you achieve what you want.
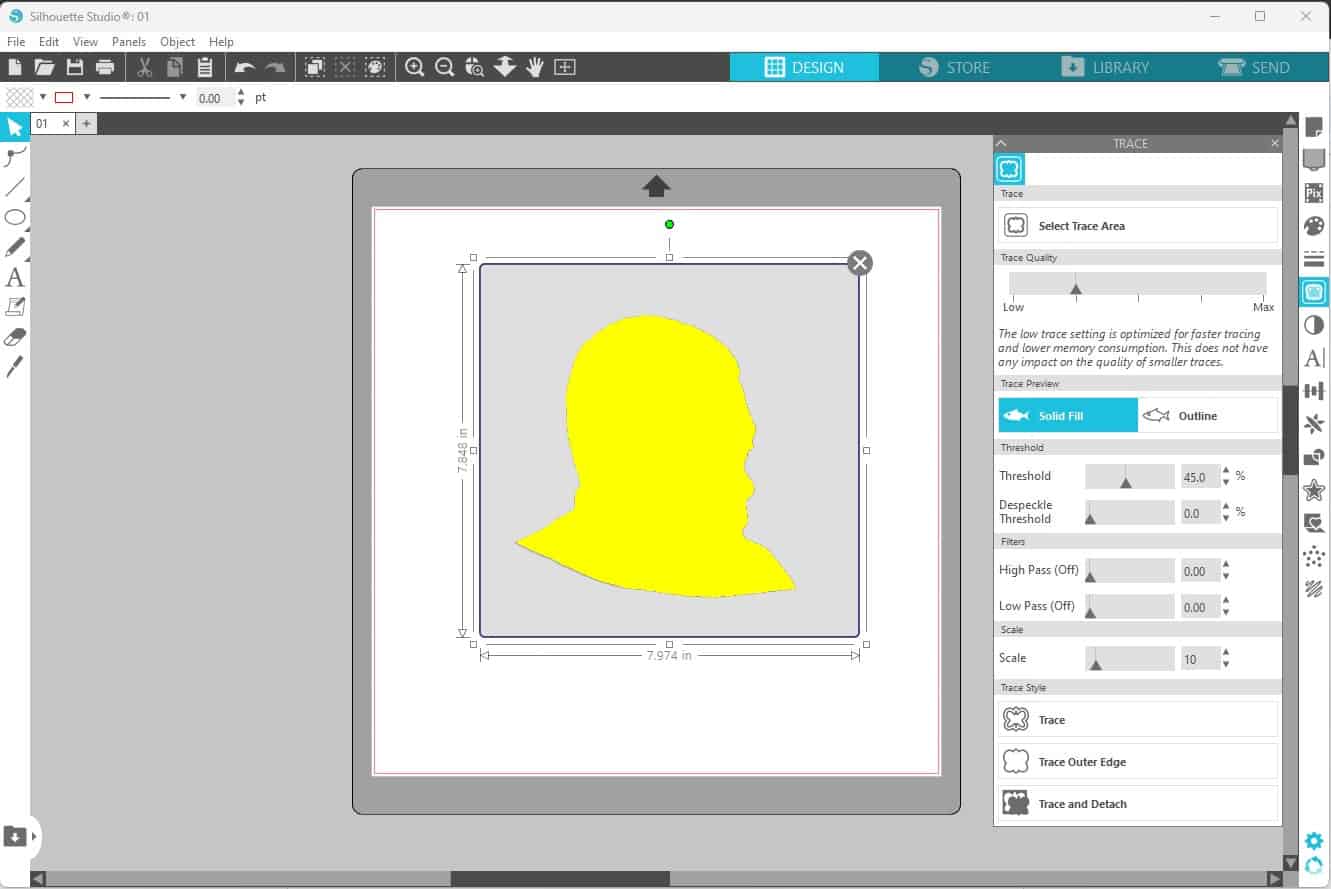
After selecting the “trace area” and achieving your desired setting, the next step is to click on “Trace” at the bottom. Below is what you’ll get when you click “Trace” at the bottom.
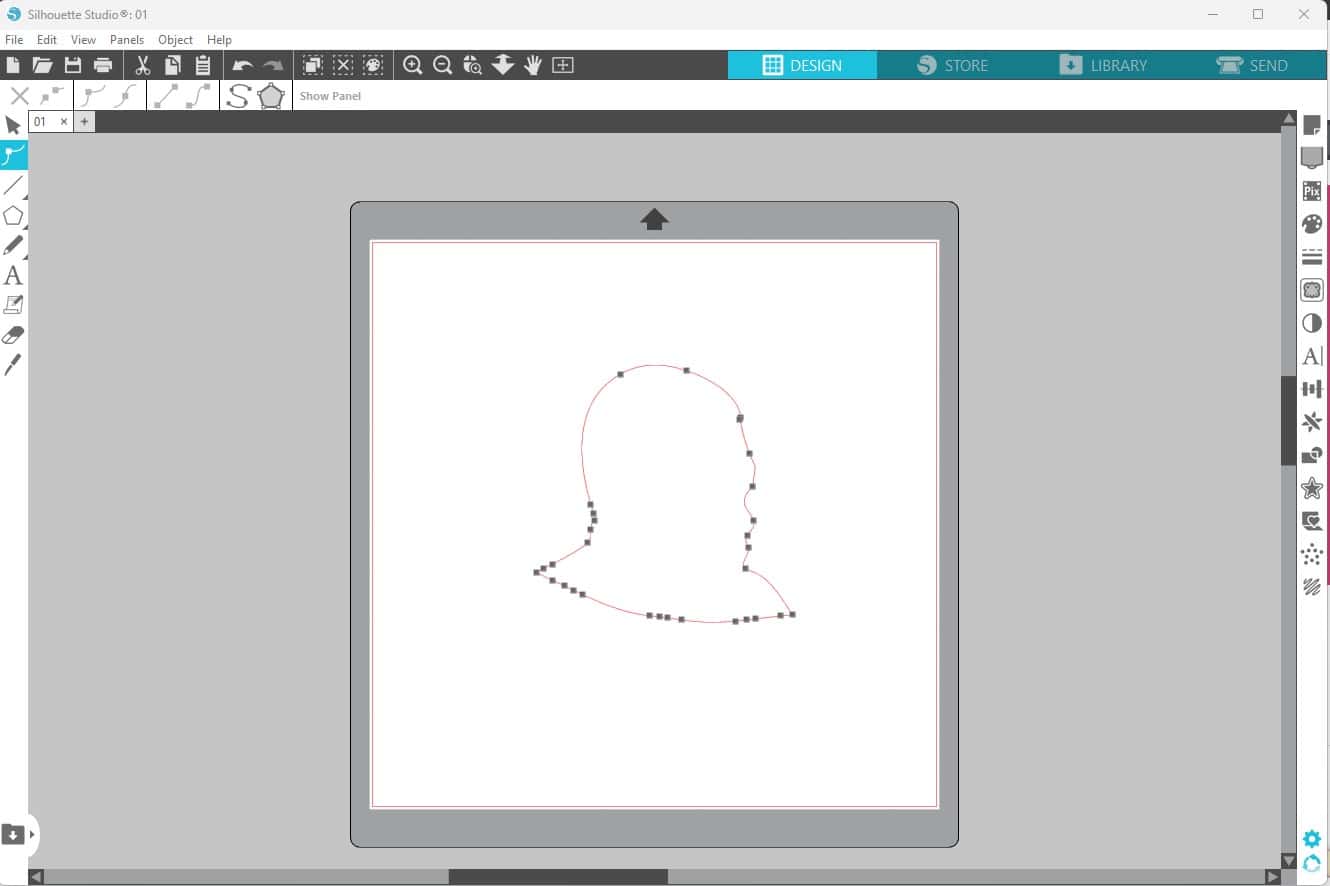
Step 4: Start the “Point Editing” task:
Here, you have to open up “Point Editing.” To do this, double-click on the red cut line.
Understand that the image you’ll get won’t be smooth. It will have a lot of points.
Step 5: Select “Simplify”
Choosing “Simplify” will enable you to smooth the image’s edge. If any points appear too pointy, click on it and select “Smooth.” Another way to fix points is to select the icon “Make Curve.”
That’s all you need to do. Your custom silhouette cut file is now ready for use.
How To Capture High-Quality Silhouette Photos Using A Mobile Phone
Do you know you can take stunning silhouette photos with your mobile device? Yes, you can! You don’t have to break the bank to purchase a high-end camera.
Most people capture their photos with iPhones or Android phones with good-quality cameras. And you can’t even distinguish between photos captured with mobile devices and those captured with expensive cameras.
Silhouetting is a unique photography technique that gets so much praise. It allows you to create a sense of mystery with your photos.
Hiding the object in darkness helps create the mystery. It is like blank spaces. Viewers can use your photos to create their own story while filling in the blank. That is how powerful silhouetting is.
Here, we will discuss techniques to take high-quality silhouette photos using your mobile device. Let’s dive in.
1: Capture exciting objects:
Even though you’re going to hide the object’s identity in darkness, ensure that you use interesting subjects. This will make your photos unique.
So, what subject do you like silhouetting?
You can capture people, human-made structures, birds, and even trees. The idea is to hide the object’s identity and give people room to guess what it is.
When you capture a bird’s photo and hide it in the darkness, you’ll give people a chance to fill in the blank. That’s what makes silhouettes unique. They’ll get the name of the bird, tree, or person in the photo.
2: Take photos of movements:
Your silhouette photo should include movements. In other words, don’t make all your silhouette photos still images. Capture movements.
It could be the movement of birds, people, or animals. Give your silhouette photos another dimension.
A Handy Tip: You can try using burst mode. It is the ideal tool for capturing movements. In other words, it will enable you to capture the perfect movements for your silhouette.
3: Capture the object against the light source:
Ensure the person is backing the light source. That’s a natural and easy way to capture silhouette photos.
For instance, the sun can be behind an individual or object. If you capture the object this way, it will come out perfectly
4: Take your photos at the right time:
Time is crucial when taking silhouette photos. The reason is that time determines how much light you can get.
You need the right amount of light to capture the perfect silhouette photo. Of course, you cannot get a good amount of light in the night.
So, when is the best time to shoot a silhouette photo? The two critical periods or times to shoot your silhouette photo are sunrise and sunset.
Why sunrise and sunset? The sun is milder in both periods, allowing you to capture the perfect silhouette photo.
5: Choose a great venue:
It would help if you had a great venue to capture your silhouette photo indoors or outdoors. However, outdoor silhouette photos are more popular and turn out great.
Even if you plan to shoot outdoors, the venue is significant. These photos are best shot in an open field, without any distractions or obstructions.
A Handy Tip: The beach will always remain a great venue to shoot silhouette photos. However, there are other venues where you can take the best photos, but the space and freedom you’ll enjoy on the beach are unmatched.
On the beach, you can place your subject in your desired position to capture high-quality silhouette photos for your project. That is why most silhouette photos you see were captured at the beachside.
6: Capture a subject with instantly recognizable lines and shapes:
You will hide your silhouette photo in darkness, and create a mystery for your viewers to solve. That’s why it’s called silhouette. But you can make things less complicated by choosing subjects that boast instantly recognizable lines and shapes.
For example, a silhouette of a person, bird, or lizard is easily recognizable. Even though people can’t tell who the subjects are, they can guess via their shapes and lines.
So, if you want your silhouette photos to capture your viewers’ image and make them interested in your photos, ensure the subjects you’re capturing boast clearly defined shapes and lines.
A Handy Tip: Silhouette photos don’t have to be completely black. The idea is to create mystery, so darkening your silhouette photos is enough to hide important details and create the desired mystery.
7: Choose the right background:
Here is another essential tip to remember when capturing silhouette photos. Your background must be unique to create the right message.
Firstly, note that your background can’t be dark. You’re trying to create a mystery with the darkened photo, not the background. So, use the background’s natural light, but ensure it is brighter than the photos.
This explains why you should take photos when the sun rises and sets. These two periods are when you get the best sunlight for your silhouette photo, not too bright but brighter than the subject.
8: Capture photos from lower angles:
Another great technique to capture stunning silhouettes is to capture from low angles. This allows you to place your subject against unique backgrounds and explore another world.
Just go lower than your subject. You can kneel or bend lower; do what is most comfortable. But ensure you’re capturing from a lower angle.
9: Shoot indoors – against windows and doors:
If you have a glass window that receives significant light, you already have an excellent background. Most people only capture silhouette photos outdoors. But the truth is, you can equally take great silhouettes outdoors.
Light the object standing in front of the door or window, blocking the source of the light. That is how you take a great silhouette indoors.
10: Turn off your flash:
The idea behind silhouettes is to create a mystery by darkening the photo. So, shooting with flash isn’t a good idea. You have to take the photo and manually transform it into a silhouette. That is how it works.
Conclusion
We have explained how to make a silhouette from a photo and even discussed how to capture stunning silhouette photos.
You can capture silhouette photos with your mobile device, whether iPhone or Android. Follow the tips and capture high-quality silhouette photos for your project.
Alternatively, as discussed at the beginning of this post, you can manually transform your photos into silhouettes. We highlighted steps you can follow to achieve that.