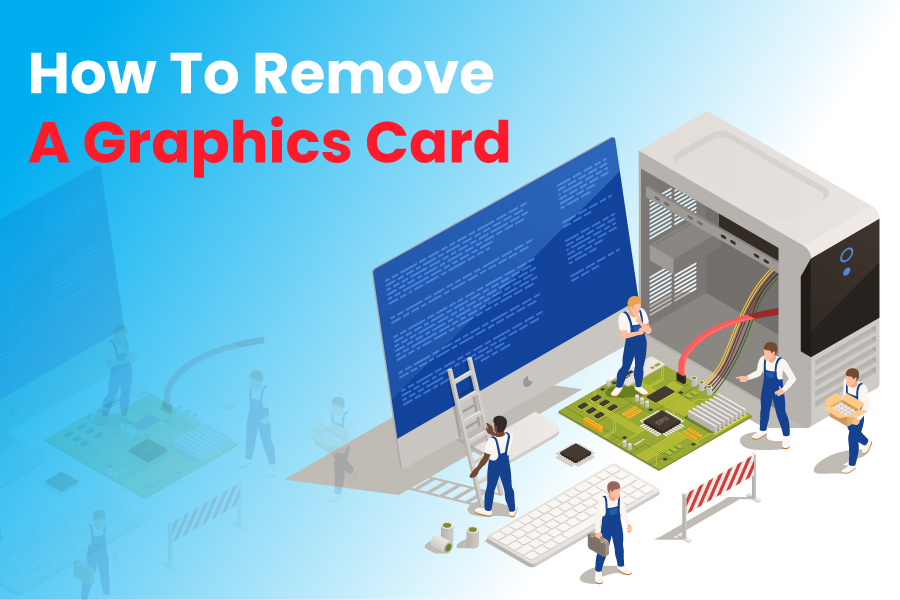
Understanding how to remove a graphics card is necessary for everyone who owns a computer. You’ll one day have a reason to remove your GPU, whether to replace it, clean it, or upgrade it. Removing a GPU from a computer may seem daunting for people who haven’t opened a computer or removed a component. But note that it’s not a complex process. You can do it even if you don’t have technical skills. Just be careful so you don’t break any component, have the tools to open the computer, and learn how it’s done. If you follow all three instructions, you can easily remove your system’s GPU. Let’s discuss how to remove a GPU from a computer and more about GPUs.
How To Remove A Graphics Card From A Computer: Follow The Steps Below
GPUs are sturdier than most people think. They are one of the sturdier parts you’ll find in a computer. But don’t get carried away, as you could damage your graphics card if you don’t handle it carefully. Besides damaging your GPU, it’s possible to damage one or more components in a computer when trying to remove the graphics card. However, this shouldn’t scare you or prevent you from manually removing your graphics card. If you follow the steps we’re about to share, you can remove your graphics card without damaging it or other components in your computer system. Keep reading for more details.
Step 1: Take strict precautionary measures:
Before you touch anything within your computer or even try to unscrew it, follow the precautionary measures below:
- Shut down your computer system.
- Remove the power cable from the wall socket and the power adapter you plug into the computer.
- Unplug and keep any peripherals attached to the computer, as they may get broken. Keep them far away from the area you wish to open the computer to access the GPU.
- Place the computer on a safe surface. Avoid placing it on a surface that could cause static electricity. A flat and solid surface is preferable.
- You may have some static electricity stored up in your body. Discharge it quickly before it damages your computer. To do this, touch a metal object.
- Sit comfortably and ensure the table you placed the computer on is convenient for you. However, most people would prefer to stand while carrying out this operation, and that’s acceptable. However, note that you’ll be standing for a while, and transferring a computer already opened from one place to another is not advisable.
Ensure you have followed these precautionary measures carefully before jumping to the next step we’re about to discuss. The safety of your computer is paramount, so be careful when handling it.
Step 2: Open the case:
The GPU is inside the computer. So, you have to unscrew it to have access. You must remove the computer’s side panel to access its internal component. Gently unscrew the screws at the back of the computer, and unclip the panel. You should see the GPU clearly after unscrewing and taking off the panel.
A Handy Tip: Note that the
Step 3: Remove cables connected to the graphics card:
You’ll discover that some wires are connected to your graphics card. They are usually from the PSU. Without this connection, the graphics card won’t work. So, take precautions when removing the cables connected to the GPU.
Step 4: Take the screws and brackets off:
Find the screw and brackets, keeping the GPU secured in the case. It’s located at the back of the case. However, endeavor to remove the cables before unscrewing the GPU so you don’t damage the wires. Removing the GPU cables gently is essential, as they can become damaged if pulled with excessive force.
Here’s how to gently remove GPU cables:
Use one hand to pin down the clip while using the other hand to pull the cable out carefully. Avoid using excessive force. Otherwise, you may damage the connector and make your task more complicated. Now, after unscrewing the GPU, keep the screws in a safe place. It’s essential to do this whether you plan to re-install the GPU or get a new one.
Step 5: Push/pull the PCie lock to release GPU:
There is a lash holding your graphics card onto its PCie slot. The lash is located at the back of the GPU on the motherboard. You must push or pull the lash to release the GPU, depending on the motherboard type. In some motherboards, you have to push the lash, while you have to pull in others. The idea is to release the graphics card from the PCie slot. So, push or pull the lash to get this done.
Step 6: Remove the graphics card:
Now that you have removed the screws and disengaged the PCie lock, the next step is to remove the graphics card. But as stated earlier, you must do this carefully. Otherwise, you could damage a component or even the graphics card. Ensure you have one hand on the graphics card once the screws are off and you have disengaged the PCie lock. The reason is to ensure the GPU doesn’t awkwardly fall off from its position, which may damage it. Avoid touching any circuitry. Just focus on the GPU only. Now, gradually, pull the GPU out. However, avoid any twist or sideway motion, which could damage the PCie slot or the graphics card. Just remove it gently.
Step 7: Keep the GPU in a safe place:
Storage is essential for the safety and longevity of your GPU. The component may look sturdy but can easily become damaged if stored carelessly.
How do you store a GPU?
- Use an anti-static bag. The reason for this is to prevent static damage, including dust.
- Store in a cool and dry place. Don’t store your graphics card in a most or excessively warm environment, as this can damage it.
It doesn’t matter whether you plan to install a new GPU or reuse the old one. Just ensure you store your graphics card correctly. Even if you plan to install a new card, you might need the older one later.
Step 8: Install your GPU:
GPU installation isn’t a difficult task. Just follow the same process you followed when removing the component.
Is Removing A Graphics Card From The Motherboard Safe?
Yes, it is. The most important thing is to take precautionary measures. So, the first step is to turn off the computer and unplug the power adapter from the electricity supply. You can damage your computer and even get electrocuted if you fail to do so. The GPU is one of the numerous components you may have to change when upgrading your computer. You’ll require a higher GPU to run high-end games, so it would be necessary for you to change your graphics card at some point. But when removing the old graphics card, ensure you don’t damage any component. Remove the old graphics card gently and install the new one in the same spot.
What Will Happen If I Remove A Graphics Card?
Nothing will happen when you remove a graphics card from your computer, provided you don’t damage anything when removing the component. The work of the graphics card is to send signals to the monitor, allowing you to interface with your computer. It is also one of the significant components in your computer system that you must upgrade at some point.
Why Can’t I Remove My Graphics Card?
Is the GPU stuck? If yes, and you can’t remove the component, it means there’s something you haven’t done right. There are several reasons a GPU may be stuck to the motherboard. Check them out below.
- Check the cables. Have you disconnected all the wires? Remember, cables are inside the case and back of the graphics card. See if you have removed all the wires. If you haven’t, please do so gently.
- Check the screws. Have you unscrewed the graphics card properly? If yes, move on to the next step.
- Check the safety lash. There’s a safety lash located on the right-hand side of the PCle. Press it to release the graphics card, as it could be why it has refused to come off the motherboard.
What Do I Need To Do After Removing A Graphics Card From My Computer?
You can clean the GPU you removed and re-install it. Or, you can install a new one. Cleaning is a great way to extend the lifespan of the GPU. It will also help to ensure the GPU functions at maximum capacity. So, clean your graphics card when necessary.
A Handy Tip: It’s not necessary to clean a GPU every week. Depending on the dust situation in your house, you can dust the GPU every 3-4 weeks or sometimes more. But for deep cleaning, every 3-4 months isn’t a bad idea.
You’ll find dust on the GPU and fan after a while. Cleaning both components will help ensure your card works at maximum capacity, so it’s essential. Again, remember to clean when the dust on the fan and GPU itself are noticeable. There’s no need to clean the component if there is no dust.
How do you clean a GPU? Firstly, note that you don’t require any special equipment. Remove the graphics card from the motherboard and place it on a flat surface. To prevent damage, you must place the component on a flat, uncarpeted surface. You can put it on a table with much space to work on. Now, start cleaning the GPU. Remember, you can clean the component with compressed air or an air pump. However, ensure that the fan does not roll freely when cleaning. If it does, it can overload the fan and, worst still, short-circuit it. So, hold the fan blades in place when cleaning with compressed air or an air pump. After that, remove the dust on each fin of your GPU’s heat sink. If you’re sure the GPU is clean, install it on the computer.
How To Maintain A Clean Graphics Card
To keep your GPU clean, endeavor to clean it at least once every 3-4 weeks, depending on how dusty your room can get. If your room doesn’t get too dusty quickly, it will take longer to find dust on your GPU.
Besides cleaning now and then, you can take other measures to ensure your GPU doesn’t get dirty often. Follow the tips below.
- Keep your room clean regularly.
- Keep your workspace clean, too. Ensure your workspace isn’t too crowded with other devices, as they can trap dirt and dust that may eventually enter your graphics card.
- Groom your pets properly to prevent them from shedding their hair. Note that the hairs on your pets can enter your computer and become an issue.
- Use a case that has a mesh cover.
- Don’t leave your computer system on the ground. Place it on the table or hard surface, away from the ground.
- Cover your computer when cleaning your room to prevent dust from entering inside.
Conclusion
You now understand how to remove a graphics card and the precautionary measures to take. It is essential to follow strict precautions to prevent damage to your computer or GPU. The first step is to shut down the computer and unplug the power adapter from the power supply. Do it before you proceed. Cleaning is also essential to extending the lifespan and improving the efficiency of a graphics card. So, after you take out your graphics card, clean it properly before installing it. Even if you don’t plan to re-install the GPU, clean it properly before storing it.