Destructive editing is an irreversible change to an image. In other words, you cannot reverse or recover the original file once the changes are made.
Now, the question is this. Is masking destructive editing? We will provide the answer in this post and explain other things you need to know about masking. Keep reading for more helpful information on this topic.
Is Masking Destructive Editing?
Image masking is non-destructive editing, as the original image is preserved. In other words, you won’t lose a single pixel.
The beauty of image masking is that you’ll gain better control to hide and display specific areas of the image. In addition, you can deploy a plethora of effects and tools with your image editor.
Non-destructive Vs. Destructive Image Editing
What does it mean for image editing to be non-destructive and destructive? Let’s find out.
Non-destructive image editing:
When you make an image editing process non-destructive, it denotes that your edits on the image are reversible.
Non-destructive image editing implies conducting edits on a photo where the changes made on the image is another layer. In other words, both your edited and original photos are saved. The original image remains intact.
You can return to your original image whenever you want since you didn’t edit it directly. That’s why it’s called “non-destructive.” You haven’t tempered with the original file.
Destructive image editing:
What destructive editing implies is that you’re editing the photo directly. What does this mean? Any edit you make to the picture will automatically save over the authentic (original image).
This editing technique is called destructive because when the changes made are saved over the original photo, you cannot reverse them.
Pro Tip: Using a non-destructive photo edit technique remains the best way to edit photos. The beauty of this technique is that you can conduct as many edits as you want to the image without damaging the original file.
What Image Mask Is
The image mask is non-destructive. We have already explained that. Now, what does an image mask mean?
An image mask refers to a filter created with a unique code. And this code helps to determine how much and in what area the image will be filtered.
Let me explain what I mean. Assume there is a pane of glass covering a photo. By the way, I just mentioned two objects. One is the photo, while the second one is the glass pane (mask).
The glass pane is lying on the photo and is painted black all over. And therefore, you cannot see what the image looks like.
The only way you can view the image is to remove the black paint from the glass. In addition, you can decide what area of the image you want to see by peeling off the area from the glass.
Now, here is something you need to know: The pane of glass is on the image, and you can use only the section of the image you want. You also don’t have to paint, cut or alter the original image. All you need to do to view the image is to work on the mask, and that’s it.
So, masking is a crucial feature in photo editing software. You can use it to merge two or more photos into one. In addition, you can cut any object you deem fit from an image or remove the image background, etc.
Photoshop is the software you’ll find masking features. It offers different types of masking too. These include:
-
Vector mask
-
Clipping mask
-
Layer mask
-
Gradient mask
-
Channel mask
-
Quick mask
Let’s discuss the features of some of these masking tools.
Image Masking In Post Processing: What Are They?
Different types of masking techniques exist, and there are different types of photo editing programs too. Lightroom and Photoshop are two widely used photo editing software.
Though Lightroom and Photoshop are popular, they aren’t the only photo editing software. In addition, you can find the masking features Lightroom and Photoshop have on other editing software.
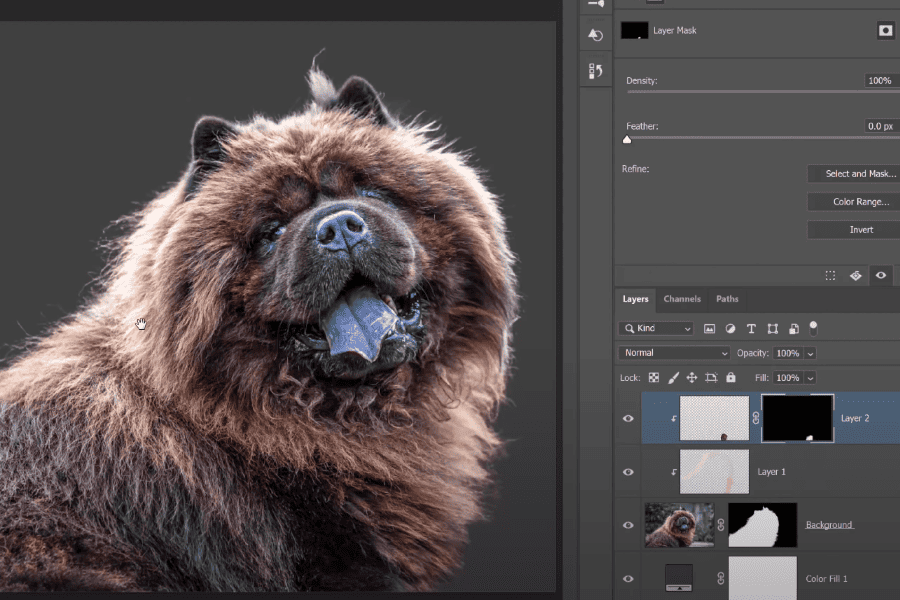
1: Standard layer masking:
Using the brush tool is one of the primary ways to mask an image if you’re using Photoshop. Another practice involves the use of manual painting. In this case, you have to paint over the image.
How does this work? Here is a simple explanation.
You can use black and white paint. That is, the white will be 100% visible, while the black is 100% invisible. You can paint anywhere you wish on the photo to make it invisible or isolate its transparency.
2: Vector Masks:
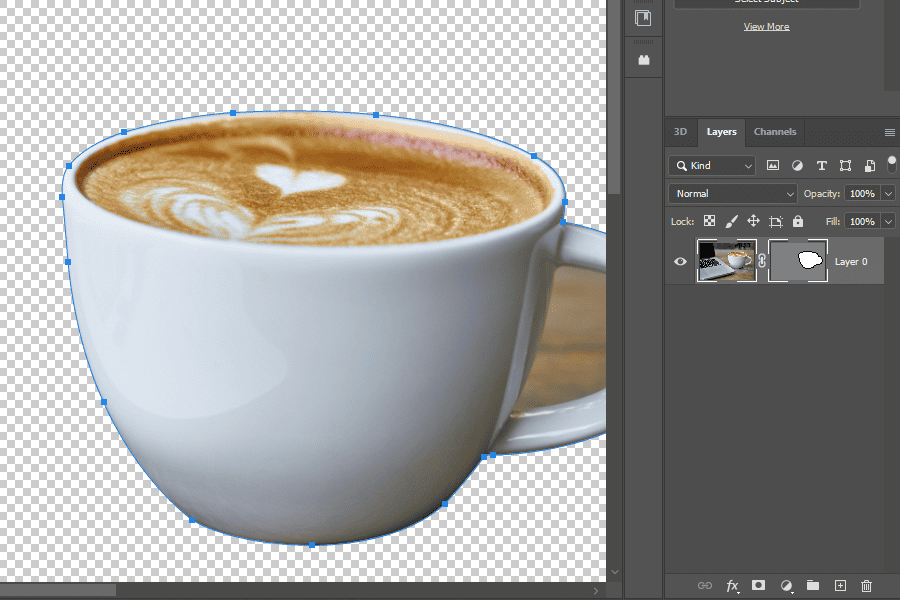
You can see what a vector mask is from the image above. However, I want to provide a few details so you can understand it better.
Vector masks are popularly utilized in graphic design to maintain sharper image edges. They create resolution-independent paths using anchor points through the shape or pen tool.
A Handy Tip: Rasterizing means converting a vector layer into pixels. And once it’s done, how your layer is displayed changes, likewise, the capabilities you can access.
You’ll now be able to see the pixels along the file’s edge instead of a clean line.
Consider using vector masks if you’re working with graphics or text. The good thing about this feature is that it maintains a sharper edge when exporting the files as SVG and PNG files.
3: Clipping masks:
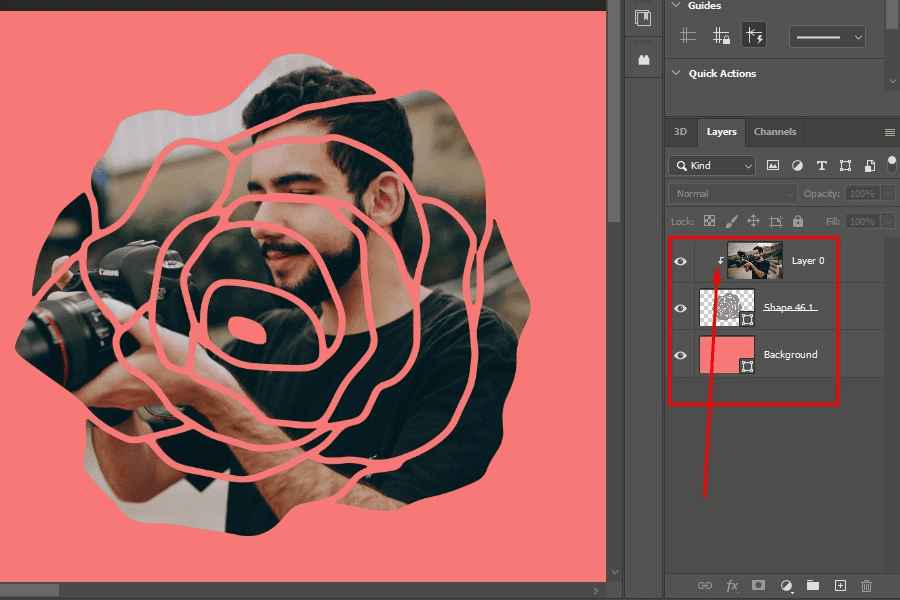
What is a clipping mask? This refers to a group of layers to which a mask is applied. It allows you to isolate areas of a layer that are visible by having it restricted to the confines of another layer.
Assuming you want a text layer filled with an image. How can you go about it using Photoshop? You can apply a clipping mask between the text and the image. The result is that the image will be visible within the text layer.
4: Alpha masks (soft masking):
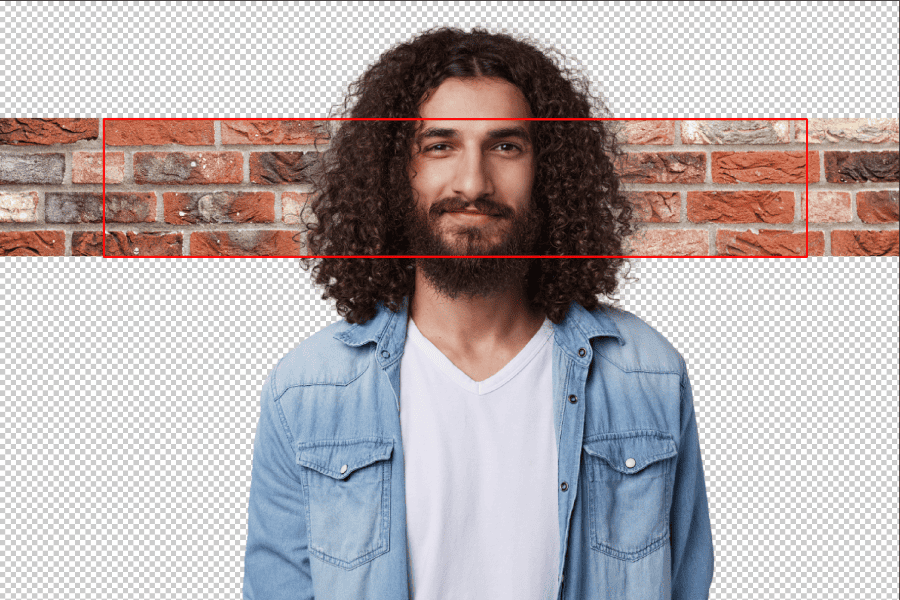
Alpha masking is also called “software masking.” Photoshop has this fantastic feature. You use this masking technique to separate fine picture elements like fur, hair, or even partially transparent components like smoke.
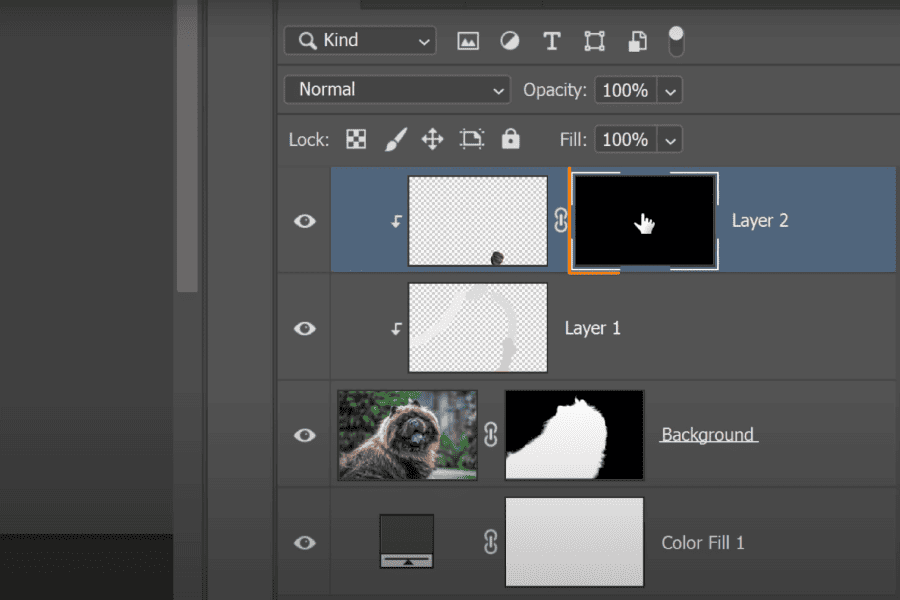
The Alpha Mask happens to be the first in Photoshop’s collection of features. The technique involves the use of colors in the image. Why? The reason is for the separation of some edges based on their contrast.
You can comfortably mask out a whole background or select your subject when you use contrast to convert an image into white and black. This is the beautiful thing about Alpha Mask.
The application of advanced masking adjustment is a breeze with Alpha Mask. Here is an example of what you can do.
Pick the complex edge of a person’s hair. Another thing you can do is cut the entire leaves on a tree.
Image Masking Vs. Clipping: What’s The Difference?
There is a difference between Image masking and the clipping technique. While standard or layer masking makes it possible to create a dynamic mask over an image or design you are editing, clipping implies a different thing altogether.
Clipping implies a form of masking that deploys a vector shape to hide some parts of the photo. Any part of the photo that falls outside the vector shape won’t be shown. That’s what clipping is.
Another thing you need to know about clipping is that you can edit the vector shape anytime. It is more like having the image placed in a custom frame.
Uses of Mask In Photo Editing
You can use the mask for a range of processes during photo editing. You use it for control where an editing adjustment occurs in a photo. You can deploy a mask to refine the adjustment along a particular edge. Another thing you can do with the mask is make specific sections of your image entirely transparent.
There are various things you can do with masking when editing a photo. Here is a quick summary below:
- Remove backgrounds
- To blend multiple images
- Apply adjustments selectively
- To add transparency to any photo
- Confine an image into a specific shape
Conclusion
Is masking destructive editing? No, masking is not destructive editing. Instead, it is non-destructive editing. It is called non-destructive editing because the changes made to the image are reversible. The original image is not damaged or transformed permanently.
Masking is vital in photo editing. Without it, it would have been impossible for photo editors to make certain portions of an image pop. Here is a quick example. If your RAW image boasts a brighter background than the foreground, applying a similar editing adjustment on both areas would have been challenging.
The simple reason is that the foreground is dark. Thus, the adjustment it would require differs from the background. But you can target the dark area using photo masking, leaving the bright area untouched.
After deploying different masks, you will end up with a well-balanced and professional-looking edit. You wouldn’t have been able to achieve this without the masking technique.