If you have searched “how to retouch photos” online, it shows you like the looks of models in fashion magazines and wish you could make your photos look similar. It is understandable. But remember that you can also retouch product photos to set your brand apart.
Retouching transforms images. It is more than the regular photo editing. Retouching helps to transform photos and make them flawless. It’s a technique used to improve the quality of images before using them.
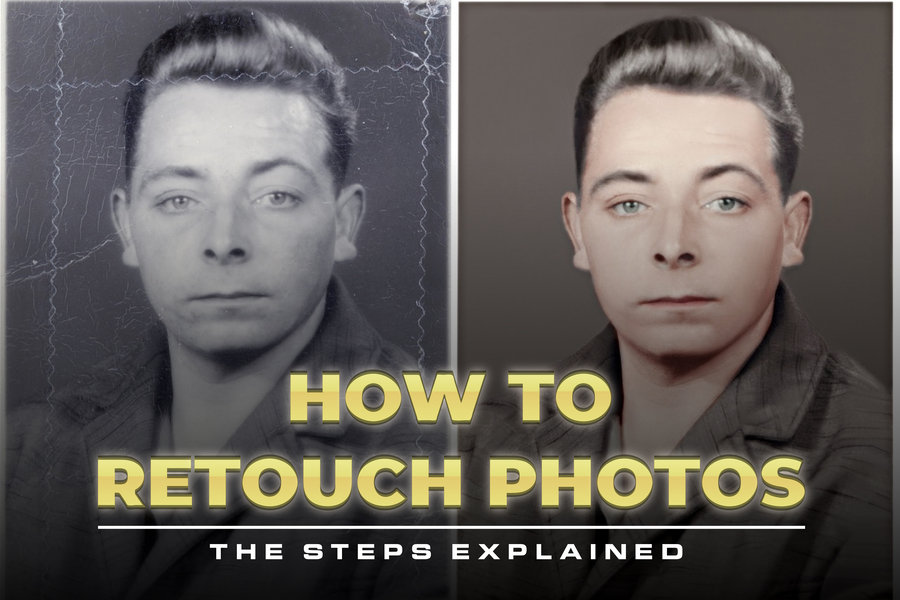
So, if you want to know how photo retouching is done, keep reading. I’ll explain the steps in detail.
What is Photo Retouching?
Before discussing how to retouch images, let’s explain what photo retouching implies.
Retouching a photo means improving its appearance. You can use this technique to remove dirt or dust that appeared in the photo (possibly from the camera lens). It could also be a physical defect a person has that is visible in the image.
You can eliminate the dust, dirt, or physical defects on a photo with retouching. It is what graphic designers use to improve the photos of models published in fashion magazines.
Retouching is often applied after cropping, color correction, and white balance have been applied to the image.
Importance of Photo Retouching
Retouching is important for the following reasons.
1. Photo retouching is important for photographers:
Are you a photographer? Note that photo retouching can transform your business. You’ll start to make more money as more people see your work.
Everybody loves a good photo. So, if you can meet their demand for high-quality photos, they’ll keep patronizing. And it won’t end here. You could get more reviews and recommendations.
2. Photo retouching is important for brands:
Whether jewelry, fashion, or other brands, retouching can cause more eyes to be fixated on your product. Retouching photos of your products before listing them online for sale can have a huge positive impact.
It will capture attention and give people more reasons to have a closer look at your product and possibly make buying moves.
A Handy Tip: When retouching photos (or editing), ensure the original photo doesn’t differ from the product itself. Remember, you’re selling a product. Note that most people may be forced to seek a refund if they discover the product image looks different from the main product. This type of move destroys trust.
In product photography, retouching helps make the surface of the product’s platform smoother. You can equally use it to remove dust from your photos.
3: Photo retouching is important for models:
Models have to look great in photos to convince fashion brands that they are the real deal. Photo retouching is a technique that can help improve the appeal of photos.
Retouching improves photos, making them more captivating. It is one technique you can deploy to improve the appeal of photos without compromising the quality.
Note: Whether you are a model or not, you need photo retouching. You can even retouch your regular photos.
Photo Retouching And Editing: Know The Difference
Photo editing and retouching are two different processes. The similarity between both terms is that they are used to improve the appeal of images.
Understanding the difference, including when to apply photo editing and retouching, is tricky. That’s why most brands hire professional graphic designers to help improve their photos.
What is photo editing used for?
Photo editing is deployed for basic improvements such as cropping, color composition, and color correction.
What is photo retouching used for?
Photo retouching is deployed for a more targeted form of photo improvement. In other words, photo retouching is used for targeted improvements such as blemish removal or skin enhancement. Photo retouching is used to remove imperfections in an image.
You can use photo retouch to remove blemishes, dirt, under-eye circles, dust, saturation, and red eyes.
How To Retouch Photos Explained In Details
Here are steps you can follow to retouch your photos using Photoshop.
Preparing Photoshop To Retouch Photo:
It is necessary to duplicate the image layer to ensure you have something to fall back on once the original image is damaged.
Here’s what you need to do.
- Open your Photoshop (PS)
- Head to the layer palette and duplicate the original photo
- Right-click on the background layer and choose the duplicate you created.
- Rename the new layer to “image error fixing.”
How To Remove Red Eye:
Follow the steps below to remove red eyes from your photo and make it look super appealing.
Step #1: Go to the Toolbox and select the “Red Eye” tool. You can click the Spot Healing Brush’s bottom-right corner to reveal it.
Once you click the “Red Eye” tool, move to the next step
Step #2: Fix the red eye by clicking on it. You can press the “Ctrl-Z” button on the keyboard if you don’t feel comfortable with the result. The command will return everything to its original state.
Step #3: Fix the Pupil Size. Go to the option bar in the tool and Darken Amount levels. After this, please click on the eye again. Feel free to repeat this process multiple times until you achieve the best result.
So, this is how you get rid of red eyes. Use this technique to make your eye in the photo flawless.
How To Heal Facial Blemishes:
Use these simple steps to heal facial blemishes on your photo.
Step# 1: Get the Spot Healing Brush:
You can find this vital brush in the Photoshop Toolbox. Click on the Healing Brush, Patch, or Red Eye tool if you can’t find it there.
Step #2: Alter brush size :
Go to the Options bar. Now, change the brush’s size there. Ensure the brush you settled for is bigger than the blemish you’re trying to eliminate.
After that, choose “Content-Aware.” You can find it in the Options bar too. Check the Type option.
Step #3: Get rid of wrinkles:
Now, it’s time to get rid of the blemish. Place your brush over the blemish. Now, click on the mouse once. When you do, it will get rid of a small blemish.
You can eliminate stray hair or wrinkles by dragging the tool across the blemish. That’s how it works.
Note that you may not get the best result on your first try. Just keep repeating the process. Drag the tool repeatedly until you discover the skin looks how you want.
How To Paint With Layers
Follow the steps below to paint with layers.
Step #1: Hit the “New Layer” button.
You’ll find this button at the Layers panel’s bottom area.
Step #2: Choose the “Brush” tool.
The next step is to choose the “Brush” tool and start improving the quality of your photo. Check the Toolbox for this tool.
It’s time to choose a brush size. Go to the Options bar and choose a brush size you consider ideal for the area you want to paint over.
Step #3: Double-click the Foreground Color Swatch:
You will find this option in the Toolbox. Now, open the “Color Picker.” You should pick the right color to paint over a specific portion of the photo.
You can do this by clicking on any color of choice on the photo or in the Color Picker.
Step #4: Start painting:
At this point, you can start painting. Paint over any part of the photo. Once done, hit the “Opacity” menu in the Layers panel. Then, drag the slider to your left-hand side to lower its opacity.
The area you painted should merge into the background. That’s the essence of this step.
Step #5: Click on the layer menu. Next, choose “Merge Down.” The reason for doing this is to successfully merge the area you painted with the one below it.
Conclusion
You have read how to retouch photos and the importance of photo retouching. Brands need professional photo retouching to stand out. Customers will trust your brand when you retouch your product photos.
Retouching helps eliminate blemishes from your photos, making them flawless, professional, and appealing. You can use it to remove blemishes from the faces of people or products.
Photo retouching can help improve your photos. It will make customers place a higher value on your business and product. So, retouch your photos before publishing them online for the best impact.